Fighting ExIf

The Exchangable Image-file Format is a nice little thing that keeps up with information relating to how a picture was taken, where it was taken, who took it and what is in the picture (as vague as how far from the camera the subject, or even detailed information about the subject). The use of ExIf is primarily linked to digital photography, but there are some instances when it doesn’t have to be. The options for storing the type of sensor method used to capture the image is certainly a digital-only field, however, there are things such as “DTDigitized”, which is “Date/Time Digitized” that would indicate that the moment the image was captured and the moment it was digitized might be more than a second apart (such as in film photography).

I am horrible at keeping up with notes, so I am attempting to write software that will store all of my relevant information for me. The software for storing the actual notes was not a big deal, it is just a form that writes everything to a giant XML file, no complication there. Where things get tricky is the writing of data to the files themselves. First of all, with as common as ExIf information is, I assumed that there was some type of text-based value used to identify the properties, that isn’t the case, they are large integers (such as 0x8827 for “ISO Speed”). Those integers map to a specific property. The information itself is stored as individual arrays of bytes, no strings at all, everything is stored numerically. Things have to be written in a very particular way or else when the bytes are converted back to strings for reading, things don’t match up and you get off the wall values.

Now I am fighting with C# and the .NET System.Drawing.Imaging library (specifically the PropertyValue class) in an attempt to make everything work out. I have to set like 4 values for each one ExIf property I want to use. It is going to be a very long night before this application is ready for use.

Writing Software

It seems like lately I have been creating a lot of software applications, but not really getting any of them where I want them in terms of functionality. All of my apps are very specific in what they do and aren’t really of much use to anyone else. Several of these applications are in the repositories on SourceForge and their code is publicly viewable. I am starting to think I should put some effort into all of these, except the ones relating to GITI, since they are merely supplements to the online system itself.

APA Reference Manager
The insanity this came from was dodging writing a paper, while still sort of working on it. It’s pretty much the same as the web-based conversion services, except this one is on your PC and won’t suddenly demand a fee to get your references [Screenshot]

ExIf 35
Now that I have a 35mm camera I started thinking about the fact that most film photogs carry around little notepads. Well, I don’t like those notepads, at least not for long term storage of my picture information, so, I have written this little tool to store that information to a file, and eventually I hope to get the ability to write the ExIf data directly to the scanned negative files. [Screenshot]

GITI Desktop
A very basic desktop application that I have now abandoned working on. It is supposed to get information from GITI on the web and present it for the user, eventually it would theoretically be able to handle all of the modules of GITI, but that seems a little too hard at the moment. [Screenshot]

GITI Cookbook
This application has the GITI name, but isn’t strictly for GITI. It can retrieve recipes from GITI’s cookbook, but it can also retrieve recipes from a file, or take them from user input and then store them in a file. Very simple as far as use, but a really neat app to write from the standpoint of using XML and object orientation. [Screenshot]

GITI Notify
This is my second attempt at a GITI application. This focuses on upcoming items in the queue of GITI. Nothing too complicated, a very clean app in my opinion. I want to add more things to it, such as status updates. I also plan to make it minimize to the tray. [Screenshot]

GPSWriter
This one is basically complete. It takes in files written by my GPS receiver (in NMEA sentence files), and then runs them through a pre-written converter (GPSBabel) and then places them in the proper folder. Its not a big deal, but I have given it a drag and drop interface that will let me put in a batch of files very easily. The app I use in the background to make this work only takes one file at a time. [Screenshot]

Side By Side
This was born from one of the crazy little things that keeps me from replying to email. I hate having to move between windows or tabs or whatever to reply to a message. This little app will let me paste plain text into box 1 and type a response to it in box 2. I want to make this one more interesting, but it doesn’t really go beyond what I have mentioned as far as expected functionality. It’s like having two notepad windows side by side, except these two boxes are permanently bound by this single application. [Screenshot]

Virtual Kiln
This one I thought was neat at the time, but not so much now. It is a piece of software that mimics the controller on my kiln and tries to determine what the temperature might be when ramping up. In the future I might add the ability to save programs as well as kiln statistics in it. [Screenshot]

Chicken Lasagna Rolls

Category: Chicken
Prep Time: 00:40:00
Cook Time: 00:40:00

12 Lasagna Noodles
3 Chicken Breasts, boneless
2 cups Heavy Cream
3 tbsp Butter, not margarine
2 tbsp AP Flour
1 pinch Nutmeg, ground
1 tsp Salt
2 tsp Black pepper, ground
1 tsp Garlic powder(Optional)
2 cups Marinara sauce
6 ounces Mozzarella cheese, grated
2 tsp Olive oil(Optional)

To cook the chicken and pasta:

1. Slice raw chicken breasts into pieces that are slightly longer than the width of the noodles, and will allow the noodle to be wrapped around it several times.

2. Brown chicken in a hot skillet, a non-stick skillet will require no oils. For other pan types, use about 2 tsp of olive oil to lubricate.

3. While browning chicken begin boiling water for the noodles, and cook them per the package directions. Let them drain on a cooling rack.

For the bechamel:

4. Once the chicken and noodles are cooked, heat the butter in a sauce pan until it begins to melt, then whisk in the flour, whisking continuously until the mixture is smooth and begins to bubble.

5. Once the mixture is bubbling, add the heavy cream (or milk, milk just takes longer to cook, but absolutely no 2% milk). Bring the mixture to a boil, whisking continuously and until the mixture reduces to a sauce that resembles alfredo or a nacho sauce. Remove from heat as soon as desired thickness is reached and whisk in nutmeg, salt, pepper and garlic (if desired).

Assembly:

6. Place one noodle on a cutting board or other clean surface in front of you. Spoon about 3 tablespoons of the bechamel on the length of the noodle, most nearest you, and gradually thinning as you approach the top. Sprinkle about 1/12th of the cheese (1/2 ounce) evenly along the length of the noodle. Place a piece of chicken (1 large piece, or 2 small pieces) horizontally on the noodle at the end nearest you. Roll up the noodle and place it face down in a baking dish. Repeat for all remaining noodles.

7. Pour any remaining bechamel on top of the noodles.

8. Pour marinara sauce over the noodles.

9. Bake at 350 degrees for about 40 minutes.

Mobile Computing Power

In the past several months I have spent a lot of time hanging out in UNC-Charlotte’s Atkins Library, and I have noticed an odd trend among students who take computers with them to the library… a lot of them plug in. When I began college, only a few people brought laptops to class or even to the library, and almost no one brought their power packs. In general, back then, laptops had enough power to run for a few hours without needing to be plugged in. Now software applications are more power hungry and CPUs just sort of let them have at what they want to use. When I was researching what computer I wanted to buy for the purpose of having a mobile computer for taking with me when I go places, the first thing I looked at was battery life. I was less concerned about overall computing power than battery life. It may be hard to do things with an underpowered CPU at times, but it is even more difficult to do things when you have no power for the CPU to use at all. So why is it in this age of everything mobile and social that laptops are built in such a way that they require the power adapter leash? Personally, I am sitting here with 94% and 13 hours of battery life available to me, and even though I plan to be here until about 9:30 this evening, I know that I will have more than enough power. On this laptop I have Windows 7, Office, Visual Studio and a few image applications (everything short of PhotoShop), and the “low power” CPU I have doesn’t seem to struggle at all with them. I suppose having two cores is better than one, no matter what voltage those cores consume.

Arrival of Nikon N80QD

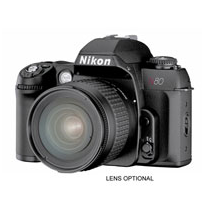
The Nikon N80QD arrived at 11:50 this morning. I ordered a camera listed as “used” in Adorama’s inventory. I ordered the one with the best rating that I could find (a rating of “D” for demo). Even with the device being of “demo” grade, I was expecting to see some signs that it had been touched before, but I had difficulty finding any. The camera came in its original box, in its plastic bag, complete with undisturbed silica gel packets. The only sign of the camera being used at all was the removed proof of purchase UPC on the side of the box. Also, the manual was missing, which isn’t shocking, since it is worth a lot more away from the camera than it is with the camera.

Returning to a Simpler Time

My 35mm film SLR shipped from Adorama this afternoon, after a 24 hour delay (which has yet to be explained). I have decided to spend a little time today reading the manual for it. So far what I have noticed is that I am sending myself to a simpler time photographically. The Nikon N80QD is very similar to the Nikon D90’s direct predecessor the Nikon D80, but there are things that are obviously very different. The biggest thing I have noticed from reading the manual is that the highly customizable menus that exist on the D80 and D90 are present on the N80, with many of the same options (or their film equivalent), except for a major difference. Where I have been used to working with a full color menu with help options and a variety of other little conveniences, on the N80 I will have the menu options guide from the manual and the option to select 1 or 0 for each of the numbered options in the menu (just numbers, no names). When I first got the D90 I asked why the menus had numbers, since the D60’s menus do not have numbers, I suppose now I have my answer, because in that line of cameras there was an early history of using numbers to identify options instead of names. I suspect it will be a pain in the ass to learn all of the menu options, but I will give it my best shot and hopefully not spend the first few weeks with the camera learning its controls. Other than the main menu, all of the other controls are laid out just like the D80, which again, is nearly identical to the D90.

Film Photography Welcome Kit

To get me started on the wonderful world of film photography, I have ordered the following:


SKU                  Brand Product                           Qty   Price      Total

-------------------- ---------------------------------------- --- ----------- -----------

DKG16

               Adorama One (1) Pint (500 Ml) Plastic Gr  1    $3.95        $3.95

DKFC4

               Adorama Stainless Steel Film Clips, Pack  1    $5.85        $5.85

CHISBP

              Adorama Indicator Stop Bath for Black &a  1    $4.99        $4.99

KKPF200P

            Kodak Photo-Flo 200 Photographic Wetting  1    $7.95        $7.95 

ILRF500

             Ilford Rapid Fixer 500 Milliliter Bottle  1    $6.95        $6.95

CHFD

                Adorama Film Developer for all Black &am  1    $5.99        $5.99

PAT135

              Paterson 35mm Tank and Reel               1    $25.95       $25.95

FJNP400365

          Fujifilm Neopan 400 Black &amp%3B White   1    $18.75       $18.75

US371316

            Nikon N80 Autofocus W/date Body W/box   D 1    $159.00      $159.00

----------------------------------------------------------------- ----------- -----------

Subtotal: $239.38


I have assembled this little getting started kit from following the advice from http://chromogenic.net/develop. I hope this works out well. I am a little nervous about having to open a film canister and putting the film on to the reel for developing. I am not good at doing things in the dark. Once the film is in the tank, very little can go wrong, or so I'm told.

Extending a Hobby

I have decided this morning to make a fairly bold move in my consideration of working with film photography. I have purchased a Nikon N80D, 5 rolls of Fujifilm ISO 400 BW film, an developing tank and an assortment of chemicals required for the developing process (wetting agent, developer, stop bath, fixer). Before this morning it was pretty hypothetical, but I decided (in my sleep deprived state) that the thoughts of not doing it at all were irrational and that if I did that, I would regret it. I do not foresee doing a lot of film photography, but at least if I want to, the option is available to me. Normally my order from Adorama would have been packed today, but due to the Jewish holiday of Purim, the order will not ship until tomorrow morning at the earliest.

I am having buyer’s remorse already, but I think I will get over it once I spend some time with the camera. I will need to practice my dark room techniques as well as maybe spending some time trying to learn how to make impressive photographs with contrast, shadow and light.

Thinking About Film

A long time ago, I photographed on film. From the time I was 5 until about 2000 I worked exclusively with film, a combination of 110, 35mm and APS. In 2002 I made the transition to digital photography, and then finally in 2008 I moved to Digital SLR. I have seen numerous claims that digital cannot beat the clarity of film, but in recent times I have not done anything to compare to. Out of pure curiosity and perhaps a bit for a challenge, I am considering purchasing a film SLR camera. I have found quite a good deal on a used Nikon N80 from Adorama, and I think it would be worth pursuing. The N80 is fairly close in features to the D80 (the direct predecessor to the D90). I find myself worrying about the concept of developing and printing the film. Would I use a lab? If so, which lab? How hard would it be to transform a bathroom into a dark room? I have a film scanner, so it isn’t as though I would have to always get my images printed, but I would need to be able to develop the film to prevent deterioration. There seem to be only a few reasons to do film again, but yet, a few concerns and reasons to not. I feel like the biggest reason to obtain a film camera is for historical value. It is still common practice in art education programs to still use film to teach photography before digital because it forces the student to be more careful and take a more active role in the art, which is perhaps something that would be beneficial to me. There is also that feeling in the back of my mind like it’s something I should learn how to do, if for no other reason than just simply for the sake of being able to use both types of media.

Maybe it’s just an excuse for another toy, and that’s why I am still undecided.

Boredom and its outcomes

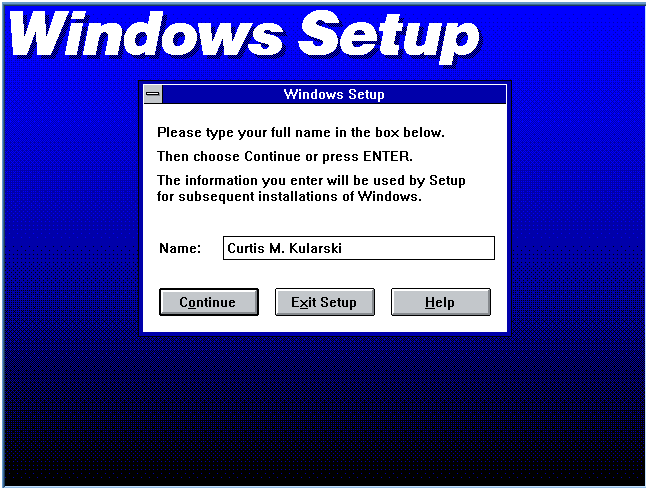
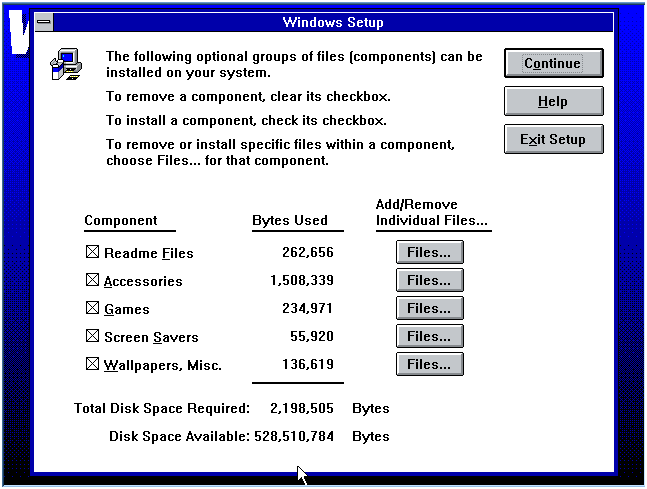
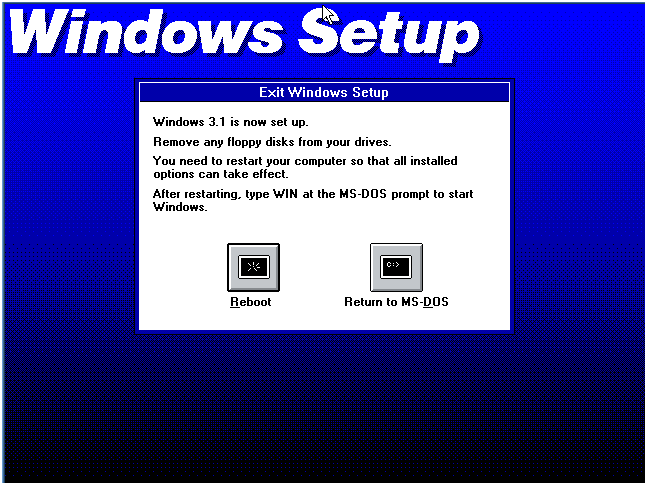
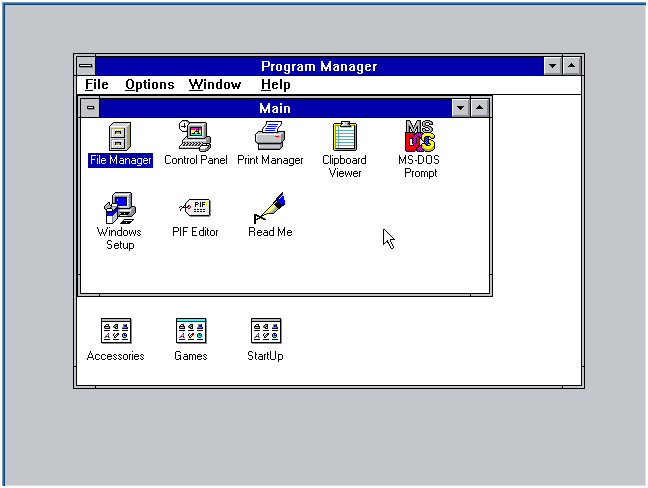
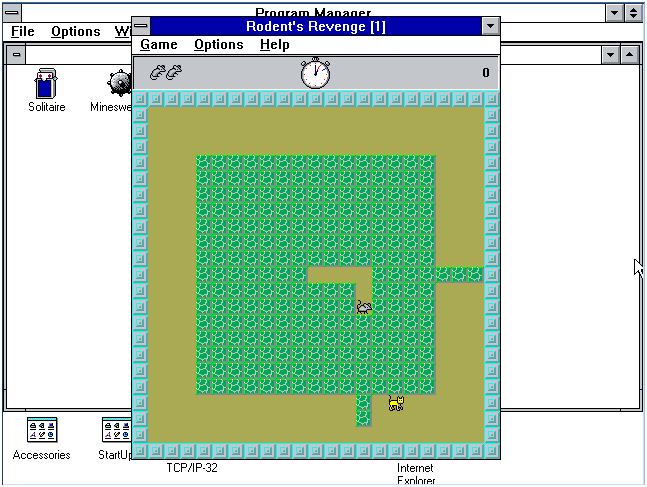
Last night after becoming somewhat bored, I decided I really wanted to play “Rodent’s Revenge”. It’s not at all a fancy game, so I thought I would give it a shot on CMK7-M. Somewhere along the way I forgot that the game was originally for Windows 3.1 and would not run on a 64-bit operating system. It makes sense, after a while, things need to be left behind and not be emulated, so that the rest of the world can do things more efficiently. I considered letting go of the idea of playing the game before I remembered that I have VMWare installed on my laptop. It is there because I considered creating a dual boot machine with Ubuntu before the system was obtained (and I really hate rebooting). Anyway, for some reason I can’t explain, instead of installing a Windows XP VM, or even 2000 or Me, I decided I would go for the most archaic thing I have access to, Windows 3.1.

I had forgotten how much of a pain Windows 3.1 was to install, especially without a floppy drive. I ended up having to a bootable DOS 6.0 image, then installing DOS 6.22 (because all I have is an upgrade copy), and finally installing Windows 3.1. Installing Windows 3.1 was pretty easy in itself though, once the pre-reqs were in place.